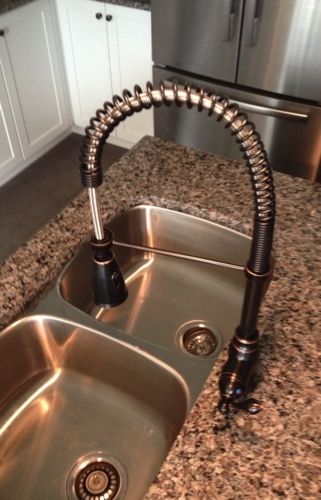
DesignerDIY – 5 Minute Makeover Video Tutorial: Kitchen Faucet
You will need:
• a fabulous new faucet
• an adjustable wrench
• a pair of pliers
• a pipe wrench
• a screwdriver
Step 1: Prepare the area
• Since you will be working in a relatively small area, remove all items in the work space.
• Turn off the water supply, in this case, I had convenient shut off valves under the sink, however, yours may be located in the basement.
• Turn on the faucet to release any water pressure and drain the lines (and to make sure the water is actually off )
Step 2: Remove the old faucet
• Using your adjustable wrench, remove the old supply lines from the water lines. You may wish to use your pliers here as well for additional grip.
• Next you need to remove the mounting nut from the existing mounting stud. Beware – this can be challenging because not only are you working in a small space, and using an awkward tool, but the previous assembly can sometimes be uber hard to take apart.
• Ta-Da! Now that you have removed the old faucet, it’s time to install the new one as per the manufacturer’s instructions.
Check out our DesignerDIY with Lowe’s in the 5 minute how-to video tutorial below:
https://www.youtube.com/watch?
Creative conundrum? Design dilemma? We’d love to know! Download our DecoratorOnDemand app here and connect with us today.
Creatively Yours,
Brandelyn
https://www.facebook.com/hautedecorinteriors / Twitter: @ohmyvintagechic


