Handmade Holiday Gifts for Beginners: Part III
Basic Cross-Stitch: Make a Fridge Magnet
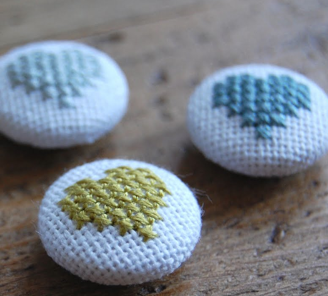
First rule of cross-stitch: it looks much more difficult that it is. Cross-stitch is done on Aida cloth which has a grid (much like graph paper). Each stitch is made up of two smaller stitches that form an “X”: the first stitch travels diagonally from one corner to another, and the second one goes on top of the first joining the remaining corners (if you need help visualizing the stitch, a quick trip to YouTube at this point might be useful!). The grid pattern makes cross-stitch extremely easy to learn, and fun to design. Using a simple piece of graph paper and a pencil you can sketch out your own design and then stitch it into the Aida cloth. In addition to the cloth, you’ll need some cross-stitch needles, embroidery floss, and a hoop if you’d like to make the fabric more stable while you stitch (all available at your local craft store).

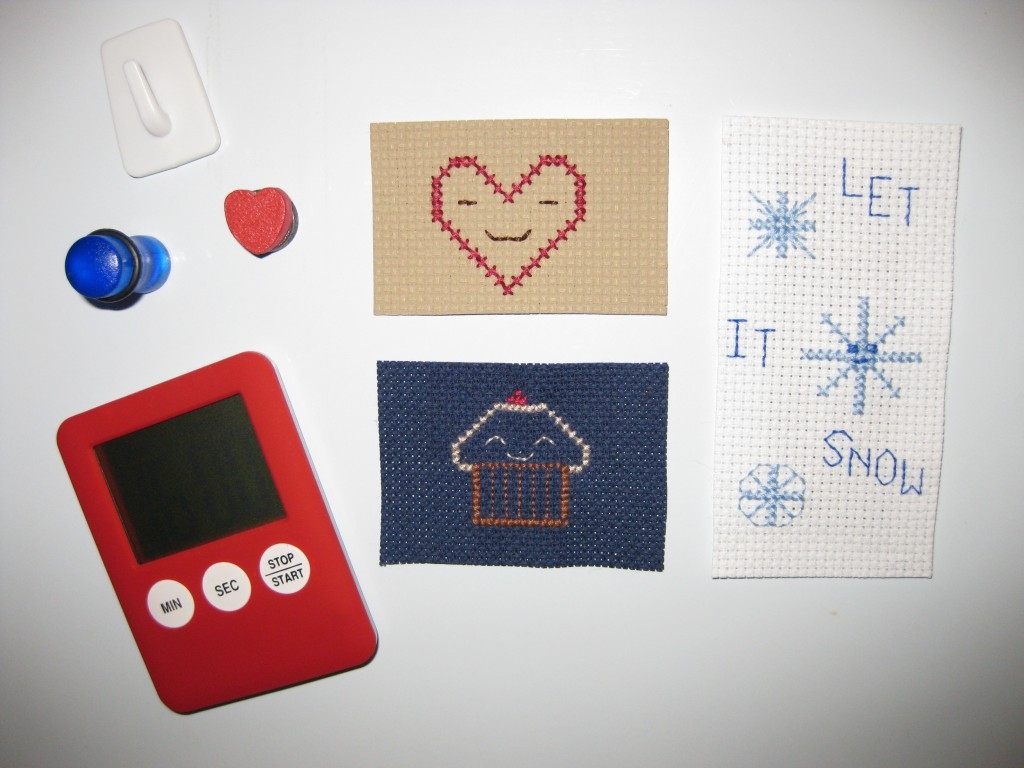
The only other thing you need to know before you start: embroidery floss is made up of six loosely twisted individual threads. The basic cross-stitch uses two strands for the standard stitch, so when you cut a piece from the larger skein (the name given to the floss when you buy it, as pictured), make sure you separate it out before you use it. Also good to know: simple outlines and details are usually done with one strand only. That’s it for basics, happy stitching! When you are done, if you want to admire your handiwork on a daily basis, cut out your design and apply a thin magnet to the back of the cloth (thin adhesive magnetic sheets that can be cut with regular scissors to fit your project are available at most craft or office supply stores). Now it’s refrigerator ready – place on your own, or give it to a friend.

Happy Crafting and Happy Holidays!


