The Secret to Perfectly Cooked Steak Every Time
Who doesn’t love a perfectly cooked steak? I mean, that juicy, tender, melt-in-your-mouth goodness is hard to beat, right? But let’s be honest—cooking steak just right can feel a bit like trying to crack a secret code. I’ve been there, too. But once you understand the science behind it, you’ll never be left guessing again.
So, if you’ve ever wondered how to nail that perfect steak every single time, you’re in the right place!
Step 1: Start with the Right Cut
First things first, let’s talk about picking the right cut. You know how they say “fat equals flavor”? Well, it’s totally true here. The fat, or marbling, running through the steak isn’t just for looks. As it melts during cooking, it bastes the meat from the inside, keeping it juicy and adding incredible flavor.
Best Cuts for Flavor and Juiciness
- Ribeye: Rich, juicy, and packed with marbling.
- New York Strip: Firm texture with a good amount of fat.
- Filet Mignon: Super tender, but less fatty—perfect for buttery flavors.
- T-Bone or Porterhouse: Two cuts in one—tenderloin and strip, separated by a bone.
Pro tip: Look for cuts with good marbling and a deep red color. These are signs of a high-quality steak that’s ready to shine on your skillet or grill.
Step 2: Season Generously (and Early!)

Now, let’s chat about seasoning. Salt is more than just a flavor enhancer; it helps improve the texture of your steak. When you season with salt at least 30 minutes before cooking, it draws moisture out of the steak. That might sound bad, but don’t worry! The moisture then dissolves the salt and reabsorbs back into the meat, carrying all that salty goodness with it.
The Science of Salt
- Draws moisture initially: Salt pulls moisture from the steak’s surface.
- Enhances tenderness: As the moisture reabsorbs, it carries the salt deeper into the meat, seasoning it from the inside out.
- Creates a better crust: A drier surface means a better sear, and a better sear means a tastier steak!
Using coarse salt works best since it sticks well and helps create a lovely crust when cooking. You can add black pepper and other spices just before cooking, but salt should be the star of the show.
Step 3: Get That Perfect Sear (It’s All About the Maillard Reaction)
If you’re aiming for that irresistible, golden-brown crust, it’s all thanks to the Maillard reaction—a fancy term for what happens when amino acids and sugars in the meat react at high temperatures, creating rich, savory flavors. It’s basically steak magic.
How to Get the Best Sear:
- Use high heat: Whether it’s a cast-iron skillet, grill, or even a broiler, crank up the heat. You want that pan or grill to be hot before the steak touches it.
- Dry the steak: Pat your steak dry with a paper towel. Moisture on the surface will create steam, which kills the sear.
- Don’t move it too soon: Place the steak down and let it sear undisturbed for 2-3 minutes per side, or until you see that deep brown crust forming.
A quick tip: Use an oil with a high smoke point, like canola or peanut oil, to avoid burning and get a good sear.
Step 4: Monitor Temperature for Doneness

I get it—not everyone has a meat thermometer on hand. But if you want to nail that perfect doneness, it’s worth getting one. Here’s why: steak can go from perfectly cooked to overdone in a matter of seconds. Using a thermometer takes the guesswork out of it and keeps you from playing the “poke test” game.
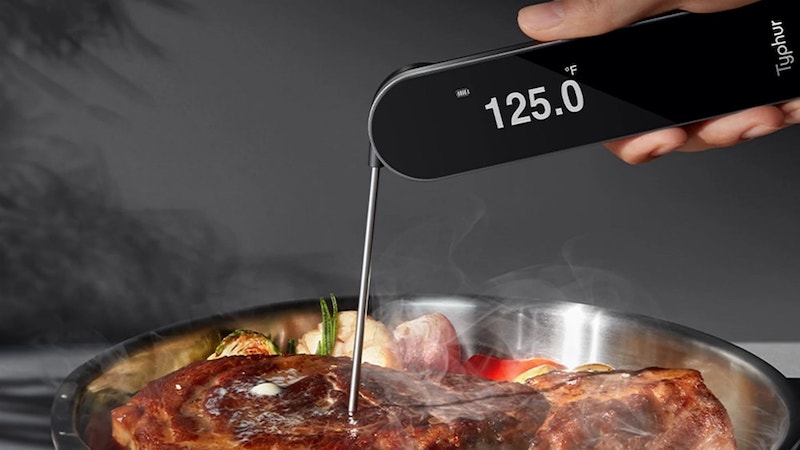
- Rare: 120-125°F (49-52°C) – Red, cool center.
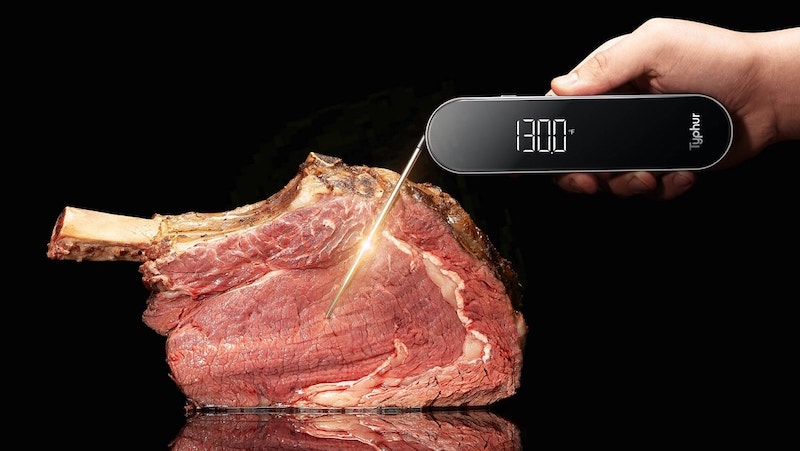
- Medium-Rare: 130-135°F (54-57°C) – Warm, red center.
- Medium: 140-145°F (60-63°C) – Warm, pink center.
- Medium-Well: 150-155°F (65-68°C) – Slightly pink center.
- Well-Done: 160°F (71°C) and above – Little to no pink.
Pro tip: Always pull the steak off the heat a few degrees before your target temperature. It’ll continue to cook as it rests (more on that below!).
Step 5: The Importance of Resting
I know, I know. It’s tempting to cut right into that beautiful steak as soon as it’s off the heat. But trust me—letting it rest is one of the most important steps. During cooking, the juices move toward the center of the steak. Resting allows those juices to redistribute throughout, making the entire steak juicier.
How to Rest Your Steak Properly
- Tent it loosely with foil: This keeps it warm without trapping steam, which can make the crust soggy.
- Wait about 5-10 minutes: Yes, I know it’s tough to wait, but it’s worth it.
By the time you’re done resting, your steak will be juicier and more flavorful from edge to edge.
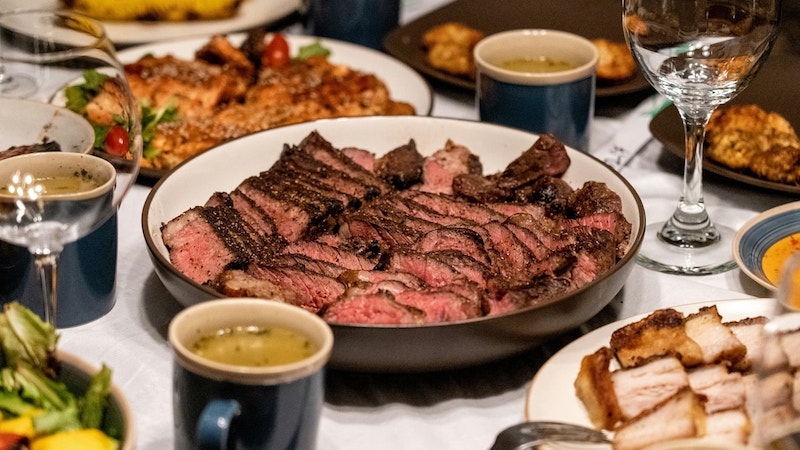
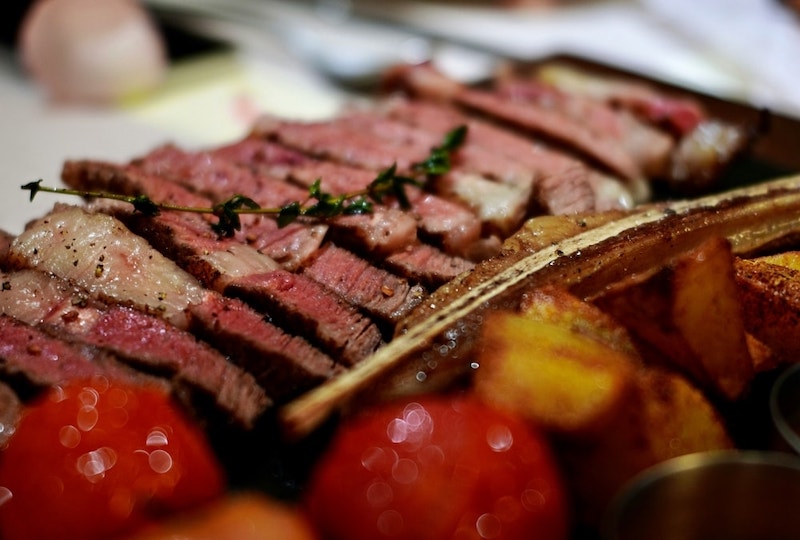
Step 6: Slice Against the Grain
So, you’ve cooked a perfect steak, and now it’s time to serve it up. But before you dig in, there’s one last trick: slicing against the grain. The “grain” refers to the direction of the muscle fibers in the meat. Cutting against the grain shortens the muscle fibers, making each bite more tender.
How to Identify the Grain:
- Look for the lines running across the steak.
- Position your knife perpendicular to those lines and slice.
This final step ensures you’re enjoying the steak at its absolute best.
How to Use a Meat Thermometer for Perfect Steak
Using a meat thermometer is simple and effective. Here’s how to get the best results:
1. Choose the Right Thermometer
There are different types of meat thermometers available, but the instant read meat thermometer is your best bet for steak. It delivers quick, accurate results in just 0.5 seconds, which is crucial when you’re aiming to hit the perfect doneness.

2. Insert the Probe Correctly
When using a meat thermometer, it’s essential to place the probe in the thickest part of the steak, away from bone, fat, or gristle. These areas can give inaccurate temperature readings. Insert the probe horizontally into the center of the steak to ensure you’re measuring the internal temperature accurately.
3. Monitor the Temperature
Once the probe is in place, keep an eye on the temperature. For a wireless thermometer, like Typhur’s models, you can monitor the temperature via a smartphone app, allowing you to focus on other aspects of cooking. Make sure to pull the steak off the heat when it’s 5-10 degrees below your target doneness to account for carryover cooking.
4. Rest the Steak
After removing the steak from the heat, let it rest for about 5 minutes before cutting into it. This resting period allows the juices to redistribute throughout the meat, resulting in a juicier and more flavorful steak. The internal temperature will rise slightly during this time, bringing it to the perfect level of doneness.
Conclusion: Achieve Steak Perfection Every Time
Cooking a perfectly tender and juicy steak is no longer a guessing game when you use a meat thermometer. With precise temperature readings and wireless technology, tools like the Typhur Wireless Meat Thermometer make it easier than ever to achieve your preferred doneness consistently. Whether you’re hosting a barbecue or preparing a romantic dinner, using a meat thermometer ensures your steak will always come out just right—cooked to perfection, every time.
By taking the guesswork out of steak preparation and focusing on precision, you can elevate your cooking skills and impress your guests with every meal. Remember to follow the recommended temperatures, allow the steak to rest, and enjoy the perfect bite of steak every time.


